To install the Custom Q++Studio Version of TeamViewer, please follow the instructions below (important: please only use the TeamViewer version downloadable from the link below, and not the free version of TeamViewer, which cannot be used for business purposes).
0. VERY IMPORTANT: if the free “non-commercial” version of TeamViewer is already installed on your PC, please uninstall it first, as we cannot use this free "not for business" version of TeamViewer for business purposes such as technical support of a commercial product. Please always install the Q++Studio bespoke version of TeamViewer or we will not be able to assist you remotely.
|
|
1. Use this link to start the installation of the Q++Studio commercial version of TeamViewer 15. |
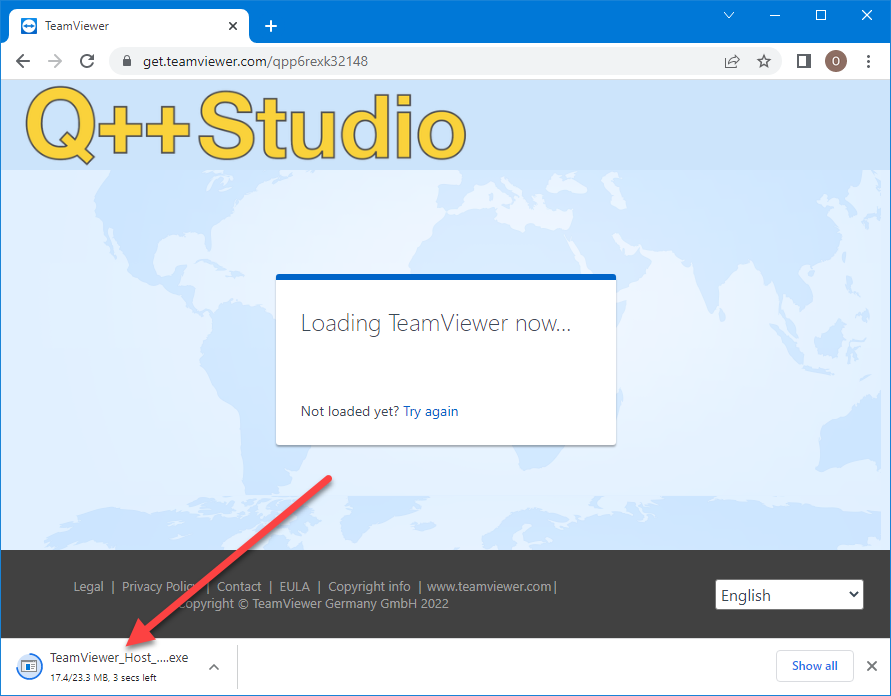 |
If you are asked What do you want to do ?, as shown in the image on the right, then click on SAVE AS to download the installer to a location of your choice, such as the desktop. |
 |
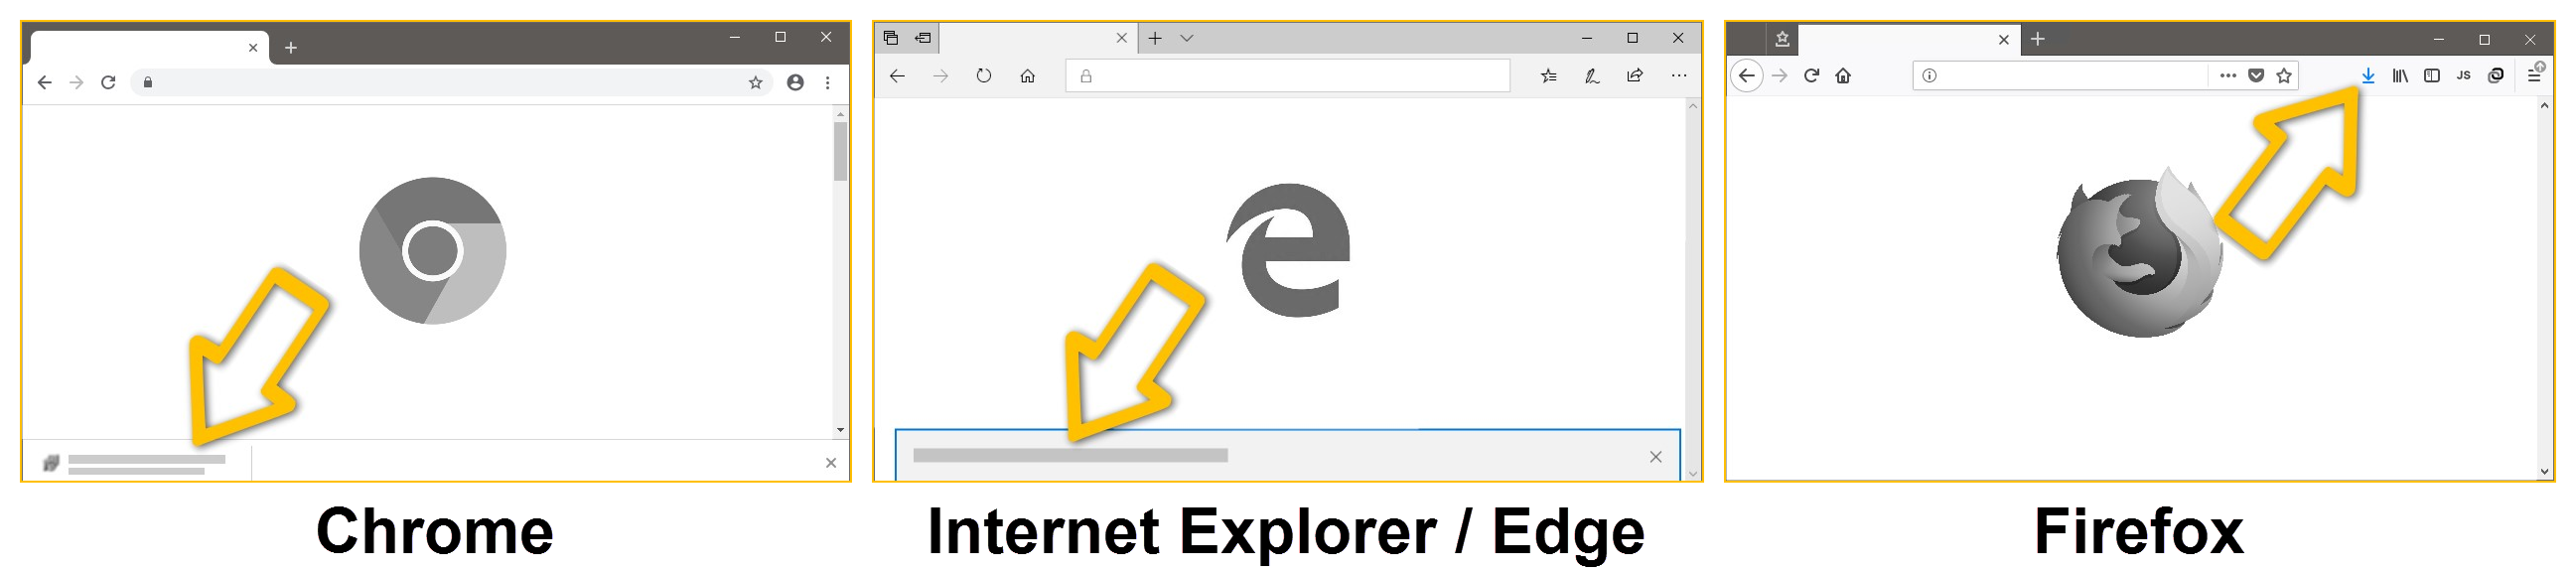
2. You should see a download link at the bottom, of your web browser.
Depending on the web browser you are using, you may see the link and buttons in different places. |
 |
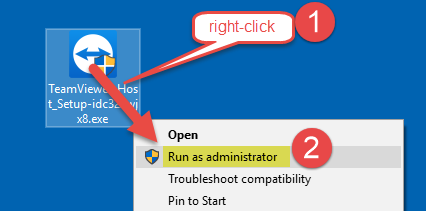
3. Right-click on the downloaded installer and choose Run as administrator. |
 |
4. Start the installation process with the Show Advanced Settings option NOT checked. |
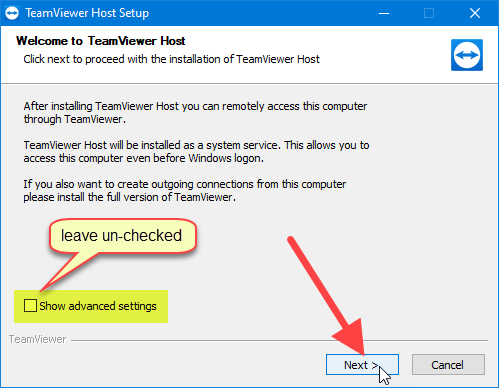 |
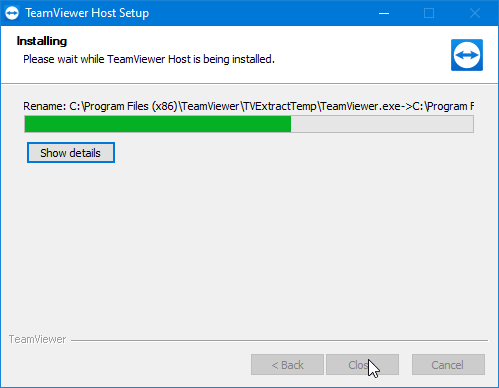
5. Click on Next and let the installation proceed. |
 |
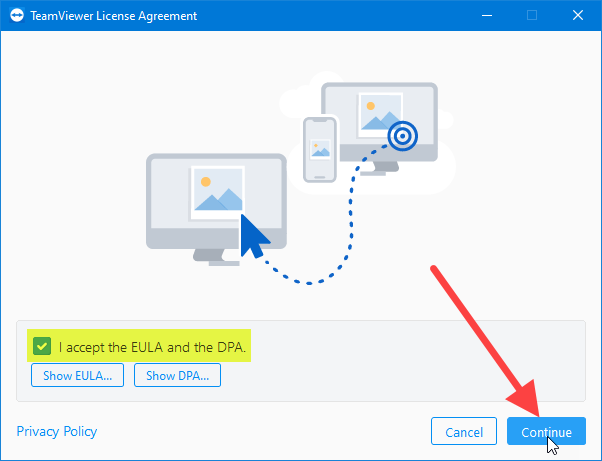
6. Accept the license agreement. |
 |
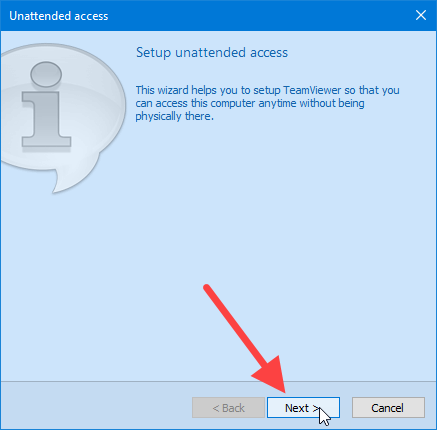
7. At the end of the installation, a Setup Unattended Access window appears.
➢You will be able to cancel this unattended access further down, if you wish.
Click on Next. |
 |
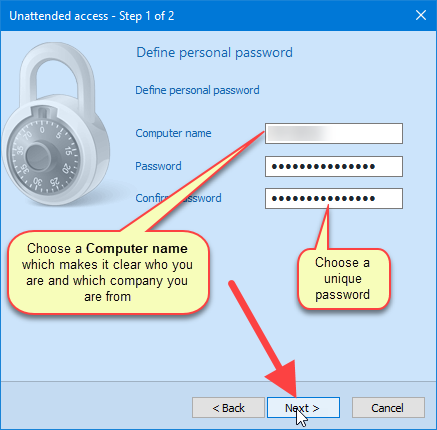
8. Choose a unique password and make sure that the Computer name you choose makes it clear who you are and which company you are from.
When you have selected the Computer name and password, click on Next. |
 |
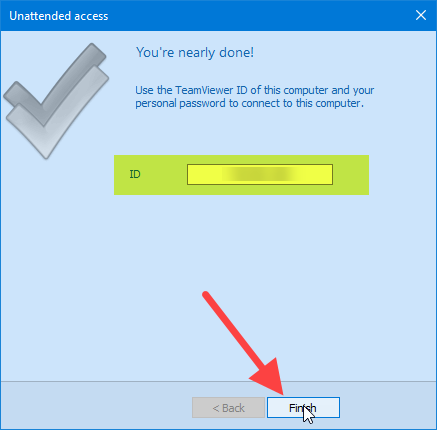
9. In the next window, click on the Finish button. |
 |
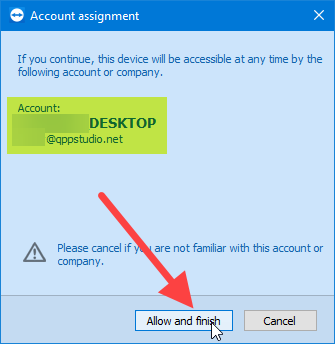
10. In the Account assignment window which appears next, allow Alter Ego Services to access your PC remotely by clicking on the Allow and finish button.
➢You will be able to cancel this unattended access further down, after step 12, if you wish. |
 |
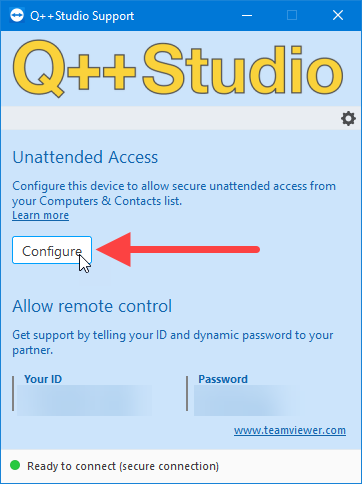
11. Finalize the installation by clicking on the Configure button of the Unattended Access window.
➢You will be able to cancel this unattended access further down, after step 12, if you wish. |
 |
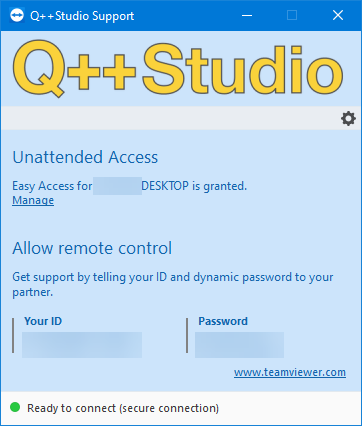
12. At the end, you will see a confirmation dialog that TeamViewer running and that unattended access has been granted.
➢If you wish to disable this unattended access now, or at a later date, follow the instructions here. |
 |
See also: disabling unattended TeamViewer access and restoring unattended TeamViewer access.
Topic 180270, last updated on 14-Dec-2022